Top Pro Tips for DIY Homeowners: Mastering Home Plumbing
As budding DIY enthusiasts and savvy homeowners, we often find ourselves seeking out plumbing tips for homeowners to keep the taps flowing and the drains clear. There's a wealth of plumbing advice out there, but sifting through the clutter for practical home plumbing tips can be daunting.
Fear not! We're here to guide you through the pipework with our expert how to plumbing tips and plumbing maintenance tips.
Whether you're mending a leaky faucet or gearing up for a full-scale bathroom overhaul, our nuggets of wisdom will ensure your home's plumbing is spick and span.

Prevent Accidental Pipe Damage During Renovations
We know how exciting it can be giving our homes a fresh new look with some renovations. However, amidst the buzz of remodelling, it's crucial to be alert to common plumbing problems that can arise, especially accidental pipe damage. Drilling a hole into a wall or hammering a nail can turn into an expensive mistake if done without proper regard for the hidden plumbing lines. As seasoned DIY warriors and advocates for plumbing tips for beginners, we're here to stress the importance of taking preventive measures.
Remember, the avoidance of costly disasters begins with being aware of the possible presence of pipes behind every wall. It's not just solid DIY know-how; it's practical wisdom.
For those tackling their first-home projects or looking to sharpen their
DIY plumbing tips, check this checklist before swinging that hammer or driving that drill bit:
| Renovation Activity | Potential Risk | Preventive Measure |
|---|---|---|
| Drilling into walls | Accidental puncturing of water pipes | Use a stud finder to detect pipes |
| Hammering nails for picture frames | Nail may pierce a hidden pipe | Inspect the wall layout plans of your home |
| Removing or modifying cabinets | Disturbing the kitchen or bathroom plumbing | Consult with a plumber before structural changes |
| Installing new flooring | Severing pipes running below | Map out floor pipes and ensure double-checks before cutting |
It pays to be extra cautious, and these straightforward steps can spare you from the headache and expense of emergency plumbing repairs. Make your renovations smooth sailing for your pipes and wallet!
Understanding What Shouldn't Go Down the Drains
When it comes to keeping our homes in top-notch condition, we're always on the lookout for effective plumbing tips and tricks. A major aspect of plumbing troubleshooting involves knowing what to keep out of the drains to prevent common plumbing problems. It seems simple, but you'd be amazed at the chaos a wrongly flushed 'flushable' wipe can cause!
Avoid Nasty Blockages with Proper Waste Disposal
It's crucial for our pipes, and our peace of mind, that we maintain the integrity of our drainage system. How we dispose of waste plays a pivotal role in ensuring a clog-free life. Let's reaffirm our commitment to responsible waste disposal and pledge only to let human waste and toilet paper grace the hallowed halls of our plumbing network.
Just because it says 'flushable', doesn't mean it's suitable for your pipes. Cherish your plumbing, and it will cherish you back with unblocked, odour-free drains.
To facilitate optimal flow and nip potential blockages in the bud, we've also been turning to age-old, eco-friendly methods. A monthly ritual of vinegar and baking soda can work wonders for our drains!
| Item | Non-Flushable | Flushable |
|---|---|---|
| "Flushable" Wipes | ✓ | |
| Paper Towels | ✓ | |
| Cotton Balls | ✓ | |
| Medication | ✓ | |
| Cooking Oil | ✓ | |
| Toilet Paper | ✓ | |
| Human Waste | ✓ |
Remember, the plumbing systems in our homes are robust, yet sensitive ecosystems that require our respect and care. By following these straightforward plumbing tips and tricks, we keep our water flowing and our pipes clear, avoiding the distress and expense of troublesome blockages.
Getting to Know Your Water Mains Cut-Off
Whether you're examining a potential new home purchase or simply taking a proactive stance on home maintenance, understanding plumbing inspection tips when buying a home is vital. Among the top considerations is acquainting ourselves with the home's mains water cut-off. It's a piece of knowledge so crucial, yet often overlooked until disaster strikes. As a homeowner, or a soon-to-be one, familiarising every family member with the location and operation of this essential feature is empowering. It's, without doubt, an indispensable part of our DIY plumbing tips.
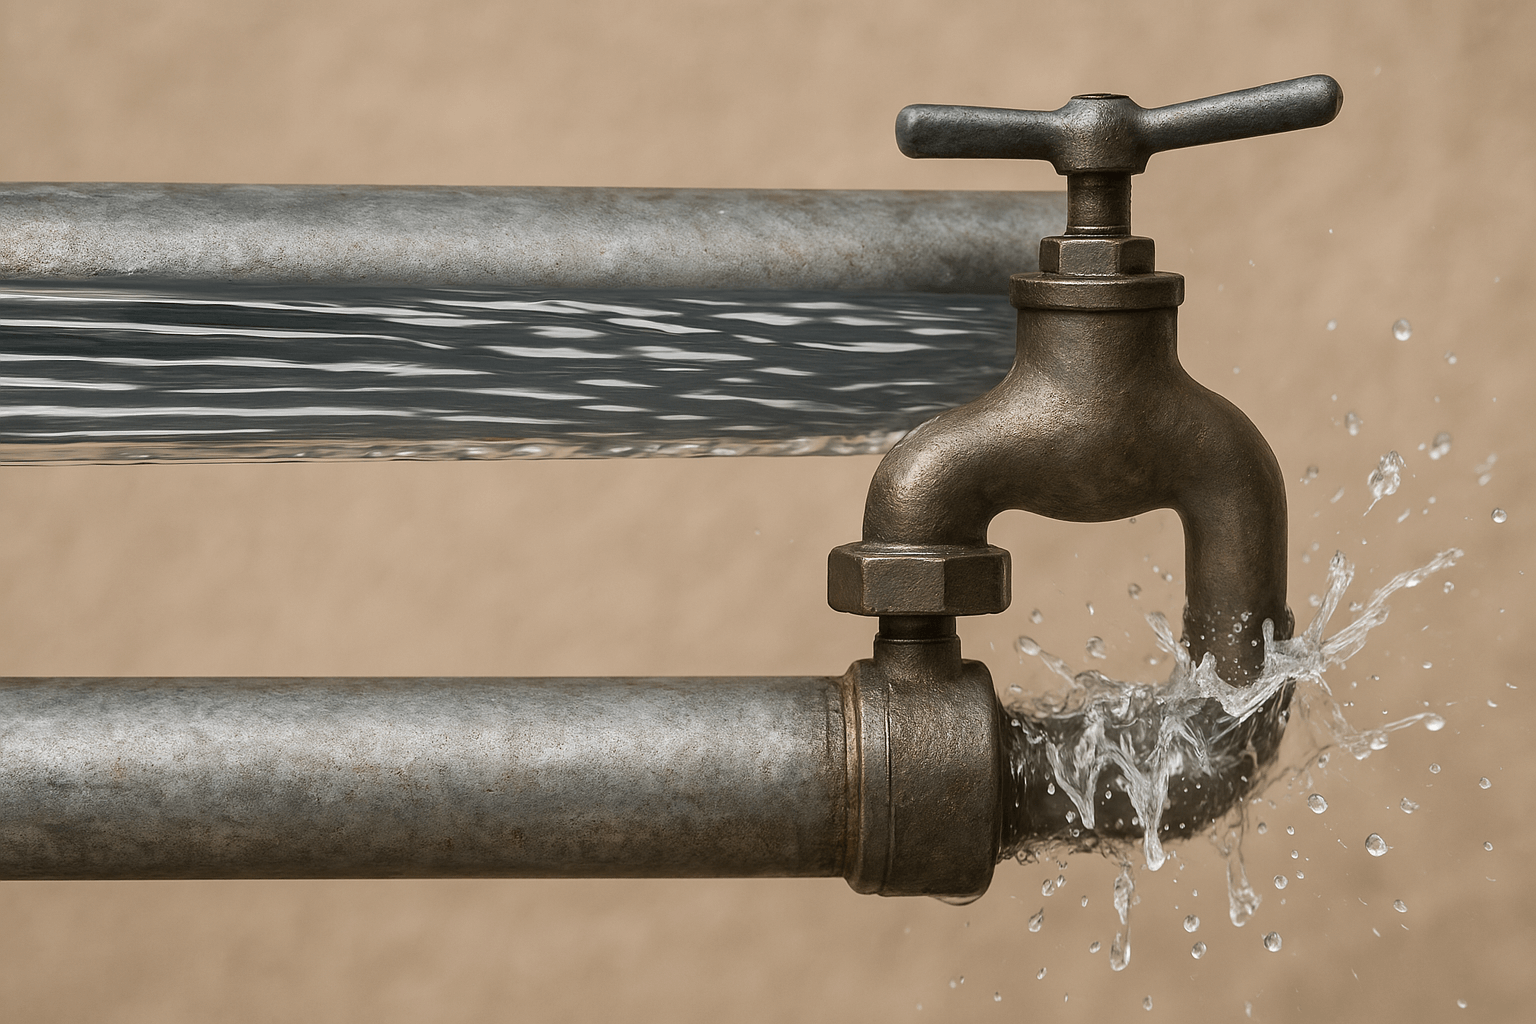
Imagine this scenario: A pipe bursts and water is gushing out uncontrolled, threatening to turn your residence into an indoor pool. Knowing precisely where the cut-off is situated can save precious seconds and, effectively, your home interiors. Stopping the water supply promptly is the first line of defence against potential flooding. It's not just a cost-saving move; it's a home-saving strategy.
We reckon there's no greater DIY skill than being able to prevent an all-out aqua invasion by turning off your water main. No need to wait for a plumber when you can be the first responder!
To make sure every fellow at home is up to speed, here’s a little table we put together:
| Action | Purpose | Step by Step |
|---|---|---|
| Locating the Cut-Off | To know where to dash when a water crisis looms. | Usually found where the main water line enters the house; can be indoor or outdoor. |
| Operation Drill | For each family member to learn how to shut the water off. | Turn the valve clockwise. Confirm it with every mate – make it a routine. |
| Label and Access | Ensure easy and quick access when needed. | Label the shut-off with a tag. Keep the path clear from obstructions. |
| mergency Instructions | To have a plan in place in case you are not home when a crisis occurs. | Pin up clear, easy-to-follow instructions near the cut-off valve. |
So there you go. Keep this little slice of wisdom in your back pocket, and remember, amidst all the DIY plumbing tips we toss around in our toolbox, knowing your water main cut-off's whereabouts and operation is top of the list. It's a simple yet impactful step that aligns perfectly with plumbing inspection tips when buying a home.
Avoiding Chemical Cleaners for Unblockages
When we're faced with a clogged drain, our first instinct might be to reach for a bottle of powerful chemical cleaner. It's a common choice, but not always the wisest one. You see, while these cleaners may offer a quick fix, they're not part of eco-friendly plumbing and can be harsh on our pipes and the environment. Instead, we're here to chat about plumbing maintenance tips that won't cause harm and will save some coin in the long run.
Opt for Eco-Friendly Solutions and Physical Tools
Aussies know the value of a dollar, and savvy homeowners are always keen on plumbing tips for saving money. One surefire way to keep the costs down is to eschew those caustic chemicals in favour of friendlier methods. This isn't just about being green – it's smart home care.
Combining vinegar and baking soda creates a non-toxic yet potent mixture for maintaining clear pipes. This dynamic duo fizzles away minor blockages without a fuss or harm to those precious pipes of yours.
For more stubborn clogs, physical tools like a trusty plunger or a wet-dry vacuum can be your allies. Let's not underrate the satisfying plunge or the impressive suction power that can clear out what's blocking the way – without any corrosive aftermath.
| Eco-Friendly Solution | Usage | Benefits |
|---|---|---|
| Vinegar and Baking Soda | Monthly drain maintenance | Safe for pipes, non-toxic, inexpensive |
| Plungers | Initial blockage clearing effort | No chemicals, reusable, effective for minor clogs |
| Wet-Dry Vacuum | Removing hard-to-reach obstruction | Powerful suction, versatile, prevents further blockages |
A little regular maintenance can go a long way towards plumbing maintenance tips. And in this case, it's not just about preventing blockages; it's also about safeguarding the health of our pipes and our planet. After all, with eco-friendly plumbing approaches, we're not just unclogging a drain; we're ensuring our home runs more efficiently and sustainably. So next time you face a stubborn stoppage, remember that the solution is in your pantry and your tool kit, not under the sink with the skull and crossbones.
Stocking Up on Essential Replacement Parts
As keen DIY plumbers here at Jetty Plumbing and proactive homeowners, we always reckon that being prepared is half the battle won. It's why we're all about sharing top-notch plumbing tips for emergencies. Now, we don't need a crystal ball to foresee plumbing mishaps, but what we do need is a handy stockpile of plumbing replacement parts for when the waters get rough.
The Perks of Being Prepared for Plumbing Mishaps
Here's the thing – having a stash of essentials like toilet kits and rubber gaskets could mean the difference between a quick fix and a full-blown emergency. Picture this: A pipe bursts in the dead of night, and you're running around like a chook with its head cut off. If you've got the right fixtures at hand, you're already halfway to stemming the tide. Just like that, you've saved yourself a boatload of hassle and probably a fair whack of dosh as well.
Remember, a stitch in time saves nine, and that's doubly true when you've got water spraying all over your Australiana memorabilia!
Cutting down on water wastage is something we all need to be mindful of, and having these parts at the ready can help tighten things up before it gets out of hand. Let's lay out the essentials you should have in your plumbing first aid kit:
| Replacement Part | Common Uses | Why it's Essential |
|---|---|---|
| Assorted Rubber Gaskets | Leaky taps, shower heads, and toilet connections | Prevents minor leaks from becoming major headaches |
| Flapper Valve for Toilet Kit | Restoring proper function to the loo | Stops water from trickling into the bowl non-stop |
| Plumber's Tape | Securing thread connections | Makes a waterproof seal that's as tight as a drum |
| Faucet Cartridges | Upgrading and repairing taps | Quick swap can fix a drippy tap in no time flat |
| Washers and O-Rings | Replacement for worn out seals | No more drips and drops, keeping things dry |
| Extension Hoses | Washing machine and dishwasher links | Keeps appliances running smoothing, without leaks |
We're savvy enough to know that being kitted out can make all the difference. It keeps us calm during a downpour (of the plumbing sort!), and ensures that we're not caught out when the pipes decide it's their time to shine. It's these smart little steps, stocking up on plumbing replacement parts, that help us keep a handle on things and let us tackle those pesky drips and drops like true blue fix-it legends.
Identifying and Addressing Leaky Taps Promptly
Let's talk about that subtle drip, but still needs our attention – leaky taps. We all know a small leak might not seem like a big deal, but it's like a small hole in your wallet, letting your hard-earned cash trickle away. That's why, as savvy homeowners, we want to share some plumbing tips for saving money starting with leaky tap repair.
Fixing a pesky tap sooner rather than later can save a whale of water and money. Think of it as a double win for your pocket and the planet! To help you out, we've put together a spiffy table of symptoms and solutions for managing those drips:
| Leaky Tap Symptom | Potential Cause | DIY Repair Tip |
|---|---|---|
| Constant dripping | Worn out washer or seal | Replace the washer and ensure it's seated properly |
| Water seeping from tap base | O-ring deterioration | Remove the tap, replace the O-ring, and reassemble |
| Tap handle is hard to turn | Mineral build-up or old lubricant | Clean out mineral deposits and apply new lubricant |
| Squeaking noise when turning tap | Worn valve stem | Replace valve stem or apply plumber's grease |
Even the most budget-conscious Aussie knows that a small investment in addressing leaks promptly can prevent bigger, more expensive problems down the track.
Of course, you shouldn't go in hammer and tongs without the right know-how. If in doubt, it's always bonza to phone a reliable professional plumber. They can sort out your leaky tap, and they're great for yarns about the footy, too. But with a bit of elbow grease and these plumbing tips for saving money, we reckon you've got a fair crack at fixing it yourself.
That said, let's not forget the essentials. Keep this in mind: a well-maintained tap can save water, which helps keep our bills lower and our planet a little greener. She'll be right, mate – if you take care of your taps, they'll take care of your bank balance at home.
DIY Plumbing: The Art of 'Hand-Tight' Fixings
As we dive into the realm of DIY plumbing tips, we want to focus on a critical aspect of maintenance and repair - the importance of 'hand-tight' fixings. Whether you're tackling a weekend project or managing a drippy faucet, the art of securing connections properly without overdoing it is a key plumbing tip for beginners to remember.
Now, crankin' the spanner too hard might seem like the right move to ensure nothing leaks or wobbles, but trust us, too much grunt can lead to grief. The trick is to tighten fittings with just enough force to make them secure, yet not so tight that you strip a screw or snap a bolt. That's where the term 'hand-tight' comes into play. It's the goldilocks zone of DIY, where things are just right.
We say, "If it's right by hand, it'll stand." A good nudge, not a mighty heave, is what keeps the pipes in peace.
Alongside preventing the over-zealous turn, we also recommend a little mate known as plumber's tape. A simple wrap around the threads can work wonders for creating watertight joints without over-tightening. Here's a handy guide for applying plumber's tape:
| Step | Description |
|---|---|
| 1. Clean the Threads | Make sure threads are free of dirt and old tape |
| 2. Cut the Right Length | Measure approximately how much tape you'll need |
| 3. Apply the Tape | Wrap the tape around the thread in a clockwise direction, three times |
| 4. Press Down | Firmly press the tape into the threads, ensuring it adheres well |
| 5. Reattach the Fixing | Screw the pieces back together, being sure not to over-tighten |
Preventing Damage from Over-Tightening
In the pursuit of leak-proof fixings, over-tightening can lead to damage that begs for a plumber's expertise. Instead of going gung-ho on your fixtures, consider using the right tools for the job and trust in the gentle precision that 'hand-tight' technique calls for. And remember, lads and lasses, always educate yourself on safety precautions when undertaking any plumbing tips and tricks projects. Wearing the right gear, like goggles and gloves, and following warnings on products will keep you safe while you keep the drips at bay.
Just like a firm handshake, a 'hand-tight' fixing is the mark of solid workmanship.
So there you have it, a straightforward yet crucial tip among the myriad of
plumbing tips and tricks that'll keep you, your home's plumbing, and your bank account, in good nick. Go on, give these DIY tips a burl next time you're under the sink or behind the loo, and you'll be well on your way to mastering the art of DIY plumbing.
Conclusion
Wrapping up, our journey through the twists and turns of pipes and valves with these plumbing tips for homeowners has been a true blue ride. We've shared insights on dodging disasters during renos, keeping our drains free-flowing without harsh chemicals, and the nifty little know-how for dealing with a sudden spray from a burst pipe. Regular upkeep using DIY plumbing tips not only keeps our homes humming bendigo but also keeps the moolah from flowing down the drain.
Let's not forget, while our toolkit of plumbing maintenance tips is handy for that quick fix, sometimes the job calls for a fair dinkum professional. For those times when the problem is a bit beyond our pay grade, getting the experts in can save a stack of stress and ensure a proper fix that'll last longer than the next big downpour. It's all about knowing when a bit of DIY is the go, or when it's time to dial in the pros for peace of mind.
So, as you go about keeping your home shipshape, keep these plumbs' truths in your back pocket. They're sure to keep your waterworks in top nick and your hard-earned cash firmly in your wallet. Stay water-wise, and she'll be right!
FAQS DIY Plumbing Around The Home
What are some essential plumbing tips for homeowners?
As homeowners, it's wise to conduct regular plumbing inspections, know the basics of your plumbing system, and avoid putting harmful materials down your drains. Also, familiarizing yourself with the location and operation of your water mains cut-off is crucial for emergency situations.
How do I avoid accidental damage to my pipes during renovations?
Before you start any renovations, locate and mark where all your plumbing is, especially before drilling or nailing into walls. Be cautious and consider re-routing the plumbing if necessary to avoid damage that could lead to expensive repairs.
Can I fix common plumbing problems myself?
Yes, many common plumbing issues can be resolved with DIY plumbing tips. However, evaluate the situation first and make sure you have the right tools and knowledge. For more complex issues, don’t hesitate to call professional plumbers.
Avoid Nasty Blockages with Proper Waste Disposal
Remember, only human waste and toilet paper should go down your toilets. Dispose of all other items, including those labeled as "flushable," in the trash to prevent blockages and protect your plumbing system.
Where is my water mains cut-off, and why is it important?
The location of your water mains cut-off varies depending on your property, but it's generally near your water meter. It's critically important for quickly shutting off your home's water supply in an emergency, which can prevent further damage.
Opt for Eco-Friendly Solutions and Physical Tools
Avoid using harsh chemical cleaners as they can deteriorate your piping over time. Instead, use physical tools like plungers or eco-friendly solutions like a mixture of vinegar and baking soda to unblock and maintain your drains.
The Perks of Being Prepared for Plumbing Mishaps
Keeping essential parts, such as washers, O-rings, and Teflon tape, on hand means you'll be prepared for a quick fix, potentially saving water and avoiding a small issue turning into a costly problem.
What should I do about a leaky tap?
Attend to leaky taps immediately, as they can waste a significant amount of water over time. Identifying and repairing these leaks promptly will not only save water but also prevent your water bills from skyrocketing.
Preventing Damage from Over-Tightening
When performing DIY plumbing, ensure that all connections are secure but not over-tightened. Using the correct wrench and applying plumber's tape can prevent leaks without damaging the fixtures.

Kyle - Shall we say the fearless leader with a mission to create the best plumbing company with the best work enviroment in all of Australia. Getting excited about things is what he does and its all the little things. This guy cares about everyone at Jetty Plumbing from the team to the clients and everyone in between.

Share This Post


